Tanks, The dirty little secret that almost every RV has. RV's may have up to three different types of tanks and some will have multiples of these depending on their layout.
Fresh Water Tank - You guessed it, holds fresh water
Grey Tank - Holds waste water from sinks and shower
Black Tank - Holds the messy waste (from the toilet)
My particular model, the 2016 Wildwood 201BHXL has a 40 gallon fresh, 32 gallon grey and 32 gallon black. Your specifications sheet should tell you what size your tanks are. If you are anything like me when you first hear about the tanks it can be overwhelming and strange. So, let's try to break it down and I will talk about how we use the different types of tanks in practice.
When you make your RV campsite reservation you will often see terms "Full hookups" or "Water and Electric Only". Full hookups usually means electric, water and sewer. This is the best and most convenient way to camp but also the most involved in terms of setting up. The electric is usually simple, just a 120v, 30a or 50a plug. Be careful on sites that only say water and electric because it might mean you can't run all the stuff in your rig. If it is only 120V you won't be able to run your Air Conditioner or Microwave. If it has 30A or 50A it will run all of the electrical stuff and keep your battery charged. I will talk more about Electrical hookups in another post.
The water will most likely look like what you have on the outside of your house, a spigot as some people call it. You'll need a fresh water hose if you want to connect it to your rig and have fresh water. Here's a link to the one I bought. It's basically a 25 foot hose with a female connector on one side and a male on the other. You will hook this up to the water spigot the other end to your city water connection on your RV turn on the water and you'll have fresh water and pressure (important note, using this connection you will NOT need to engage your water pump) as the pressure from the spigot gives you what you need to push water around the pipes in the RV.
If the site doesn't have water then things are going to get a little bit more interesting. You will have to fill the fresh water tank before arriving at your camp site and use the water pump. If you don't have water then that probably means you won't have sewer or electric and you'll be "boondocking" or camping with no services. We've never camped this way in our RV so I can't speak too much to it but we have camped without sewer which can be interesting. Also note that if you use your fresh water tank you will need to sanitize and flush it before you use it for the first time, here is a link for that.
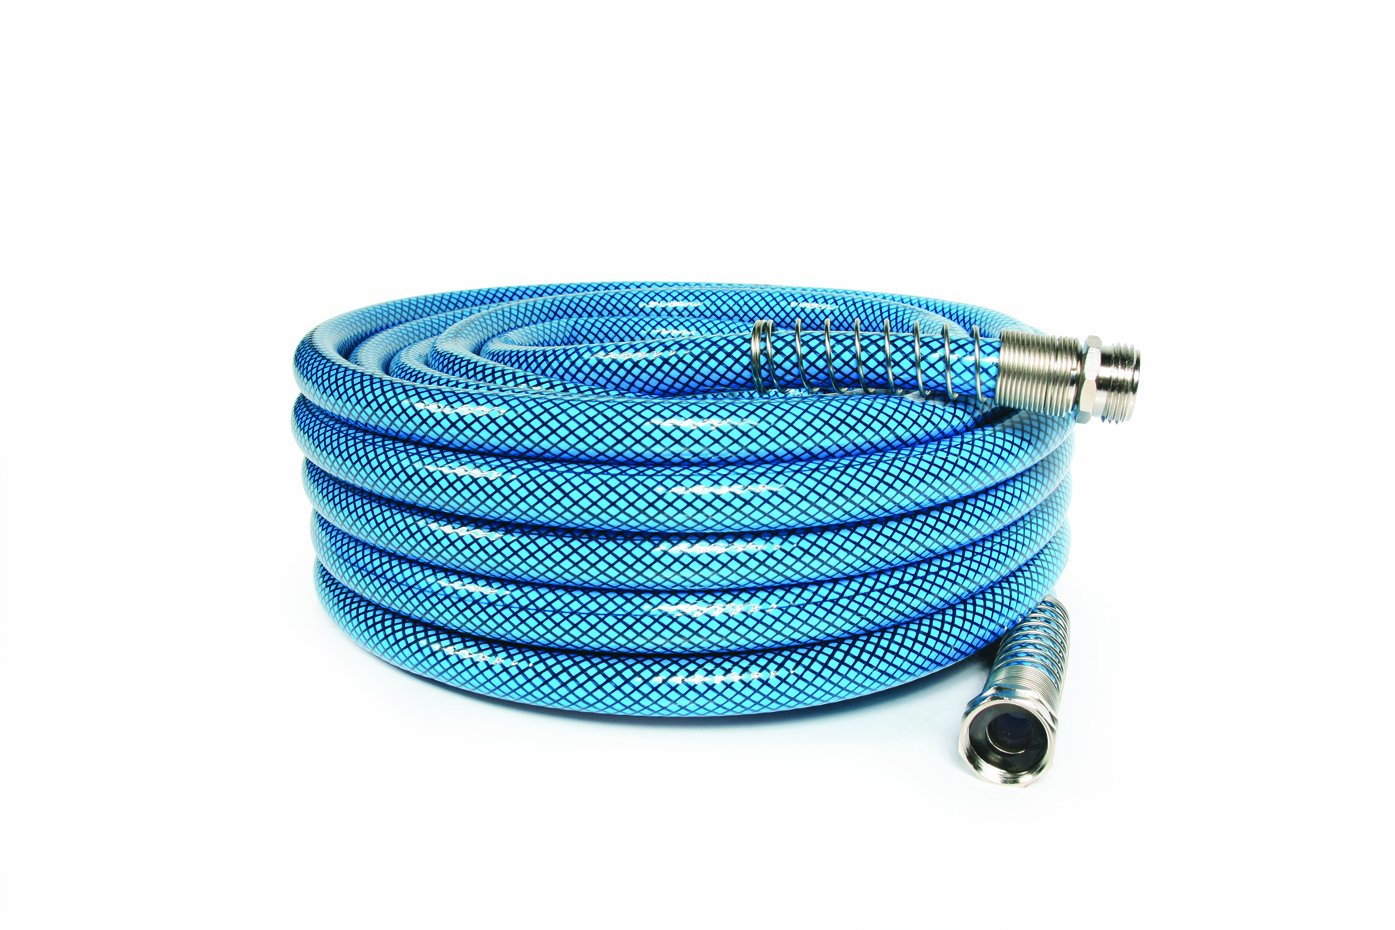 |
| My 25' fresh water hose |
A longer 50' drinking water hose - Comes in handy if the services are further away
A filter and flexible extension - Keeps your water tasting good and protects the RV water inlet
A water pressure regulator - Keeps the water pressure consistent and can protect your pipes
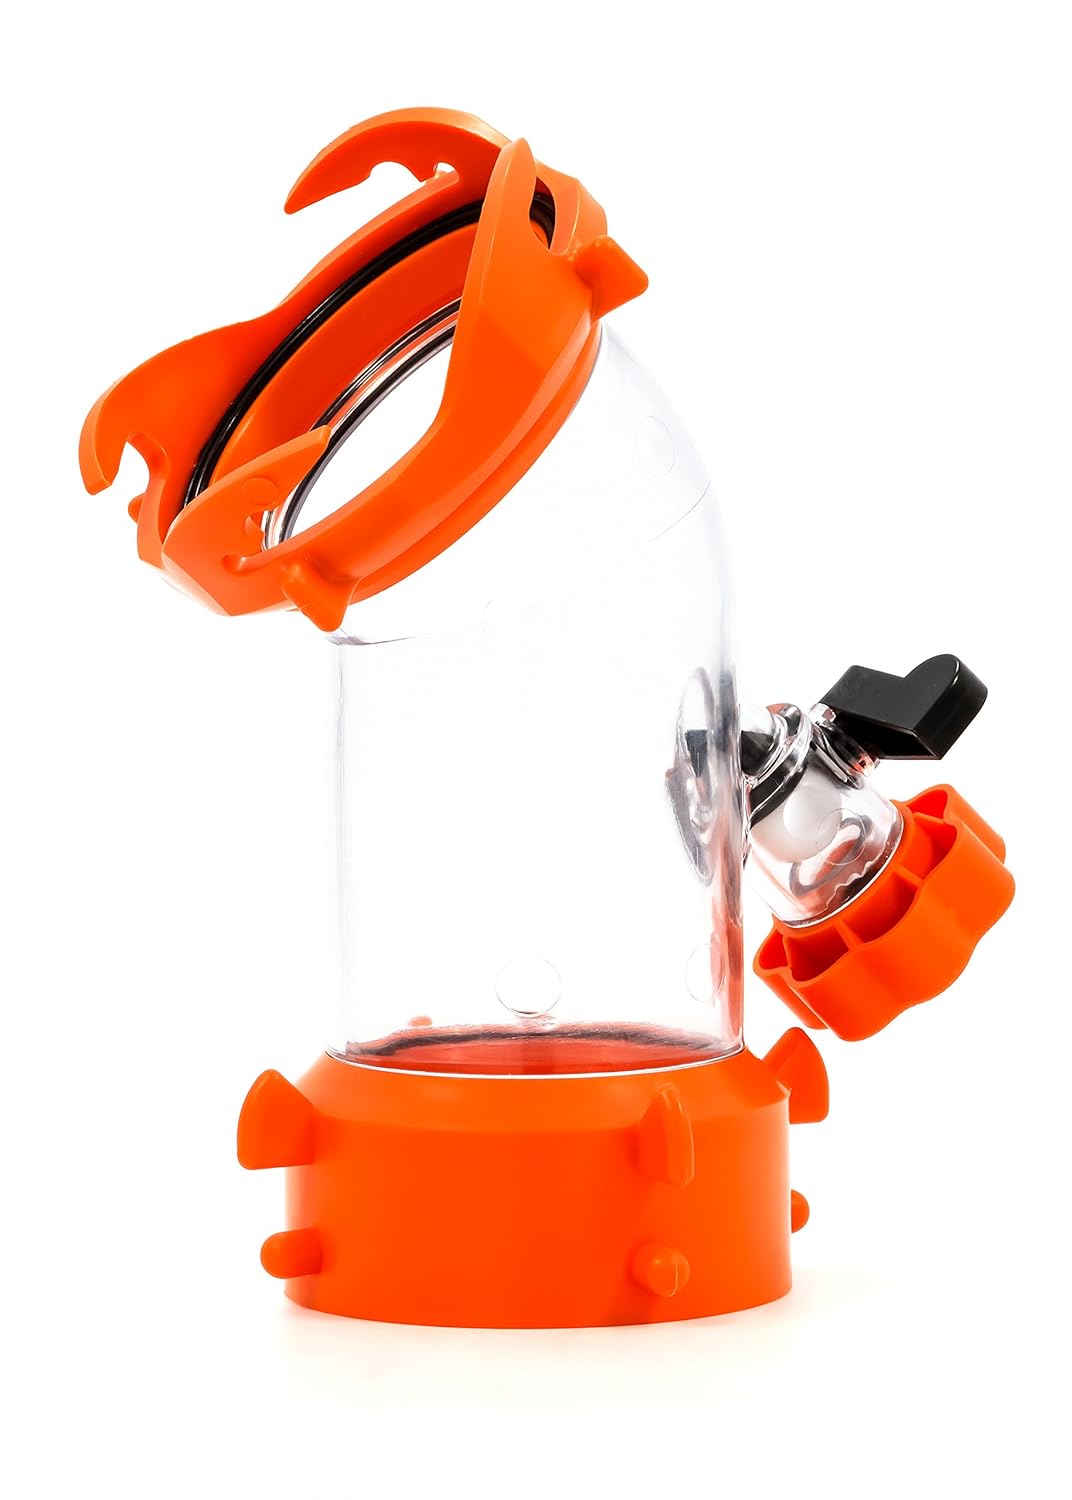
A 2 way water valve - Lets you hook up another hose if needed, more on this later
 |
| The 2-way water valve |
The last 3 items I use each and every time we hook up, the extension is only needed if we are far away from the services which has happened so it's nice to know I have the length if I need it. My hookup is like this. At the spigot I hook up the 2 way valve, then the fresh water hose, then the pressure regulator then the water filter and then the flex extension. One more thing that I will be adding soon is a heated hose I won't go into too much detail here but if it gets below 30 degrees for too long you will want this.
If you have a sewer hookup and fresh water spigot at your campsite that means 2 primary things. One, your tank sizes don't really matter and two, you won't need your fresh water tank or your water pump. You won't have to worry about your waste tank sizes because you can dump any time that you feel like it (although you should dump at the proper time) and you won't need your fresh water tank because fresh water is coming directly into your RV through the city water inlet. We have never dry camped so we've never filled up our fresh water tank and never used the water pump, even when winterizing, but that's another blog post for another day (hint: you have to sanitize it first).

Let's talk sewer hookups. Somewhere on your site, and it may not be obvious, there will be a white round cap about 4 inches in diameter. If you're lucky it will look like this and everything is right there, together and easy to find. If you're unlucky and it's in the fall, you may have to shuffle leaves around for awhile or even ask management where it is. Some come up out of the ground, others are perpendicular to the ground which makes accessories necessary to get the right hookup. Gravity is your friend here so getting a nice run from the RV to the sewer connection is important. In this photo you see the power, water and sewer are all nicely grouped together, just make sure you park the RV close enough before you level it so you don't have to move again.
Here's what I have for our sewer connections.
The clear sewer connect gets hooked up first to the RV side. It allows me to see what's coming out of the gray and black tanks (I know, gross, but..) and it allows me to hook up another hose (don't use your drinking water hose) to blow water back up into both tanks and flush them out. This is extremely important because most tanks have sensors on the inside that show how full or empty the tanks are. If the sensors get funked up you can get false readings and not really know how full or empty your tanks are.
 |
| Clear Sewer Connect |
 |
| Hose and Sewer Connection |
 |
| Sewer Hose Support |
The hose and sewer connection goes next. Each thing locks securely into the next thing so there's no mess when you are emptying. Finally you can adjust the pitch of the whole thing with the support and make sure you have gravity helping you out from your RV to the Sewer inlet. If you get good at this you can probably set it up in 10 or 15 minutes after you have leveled and unhooked your trailer. Oh, one last thing, leave your tank dump valves CLOSED, for now, and until you are ready to empty, trust me, this will help the dumping process.
Alright, everything is hooked up, you're camping and you're having a great time. Everyone is washing dishes, maybe taking showers, using the toilet, it's all good. You walk by the command center to check your tank capacities and you notice that one or both tanks is 2/3rds full. Oh NO! The dreaded time has come.
First, go outside and crack a beer. Take a few sips of the beer and think about what you're about to do. Normally this stuff is transparent to you. When you're home, you flush and forget about it, well, unless it clogs but hopefully that doesn't happen too often. Out here, all your stuff is in your holding tanks until you empty them which you are about to do.
So, enjoy the rest of your beer then go find your gloves, you did buy gloves right? Put a pair of the gloves on and go around to the back of your RV. Now, find the valve that is for your black tank. Always remember, when you dump tanks, be sure to dump both tanks and always do the black tank first. Pull the black tank lever and watch the stuff go by. It will probably be nasty but watch it anyway. Look for big clumps of paper, probably some other stuff and eventually it will stop. If you want to have your wife go dump a few bowlfuls of water from the toilet go ahead and do that, just close the valve when it gets to a trickle.
 |
| Polyethylene Gloves |
Now dump the grey water tank, the valve should be close to the one you just closed, also the pipe diameter will be smaller for the grey tank. The great thing about dumping the grey after the black is that it will flush your sewer hose out. When the grey slows to a trickle have your wife throw some more water down the sinks and then when you're satisfied close the valve, take off your gloves, throw them away and check the tank indicators. If they say empty, you're good to go, if not, you have to flush them a bit by either using your RV's flush system or if you bought what I mentioned above, a second hose connected to that can help you flush them out. Remember to do black first and then grey when flushing the tanks. Don't be afraid to use lots and lots of water as you are hooked up and have an infinite supply.
Once the tanks are emptied and the valves are closed you will probably want to throw a couple of gallons of water and some chemicals in order to control odors.
We use Walex Bio-Pak for our black tank and we use Walex Elemonate for our grey tank.
That's pretty much it. We are fortunate to have a small compartment on the rear of our coach to hold all of the supplies and I use our bumper for the hose storage. I bought these bumper caps for the ends as we lost more than a few of the original bumper caps just from travel. The ones that we use actually screw on and are hinged but I've since found this magnetic bumper cap set and this will be the next set I buy if the one we use now ever falls off.
So, there you have it. All about your tanks, what they are used for, how to empty them and things that will help with the process. I was extremely intimidated by the whole process when I had to do it the first time but it's much less stressful now. Dumping at the dump station is really no different except you're hooking it all up and disconnecting in one session. The one time I had to use a dump station I was finished in about 15 minutes. If you're not super good at the process I'd wait to use the dump station until you figure it out as you don't want to irritate the other seasoned campers. Also, if you do decide to trailer with your tanks not empty please be considerate of the extra weight. In my case if all my tanks were full that would add over 800lbs of weight (about 8 pounds per gallon) ! That's a lot when considering your combined gross vehicle weights.
Good luck and Happy Camping!